How We Built PerfectBugReport.io using Midjourney, Webflow, and Marker.io
The go-to checklist for writing better bug reports is live. Let's talk about how the idea came to life and how we built it.


A couple years back, our CEO Gary bought the domain name PerfectBugReport.io.
His idea: make it the go-to checklist for writing better bug reports.
Today, it’s finally live!
In this post, I’ll talk about how the idea came to life—from idea, to design, to partnering with an agency to slice it in Webflow.
Let’s get into it.
Why did we build this?
Bug reports filed by non-technical reporters tend to lack crucial information:
- Screenshot, annotations
- Steps to reproduce
- Environment
- etc.
And since not everyone uses Marker.io to do all of that automatically… we wanted to create a free resource that developers can point to.
A document that contains the essential items to include in bug reports.
This is what marketing initially came up with:
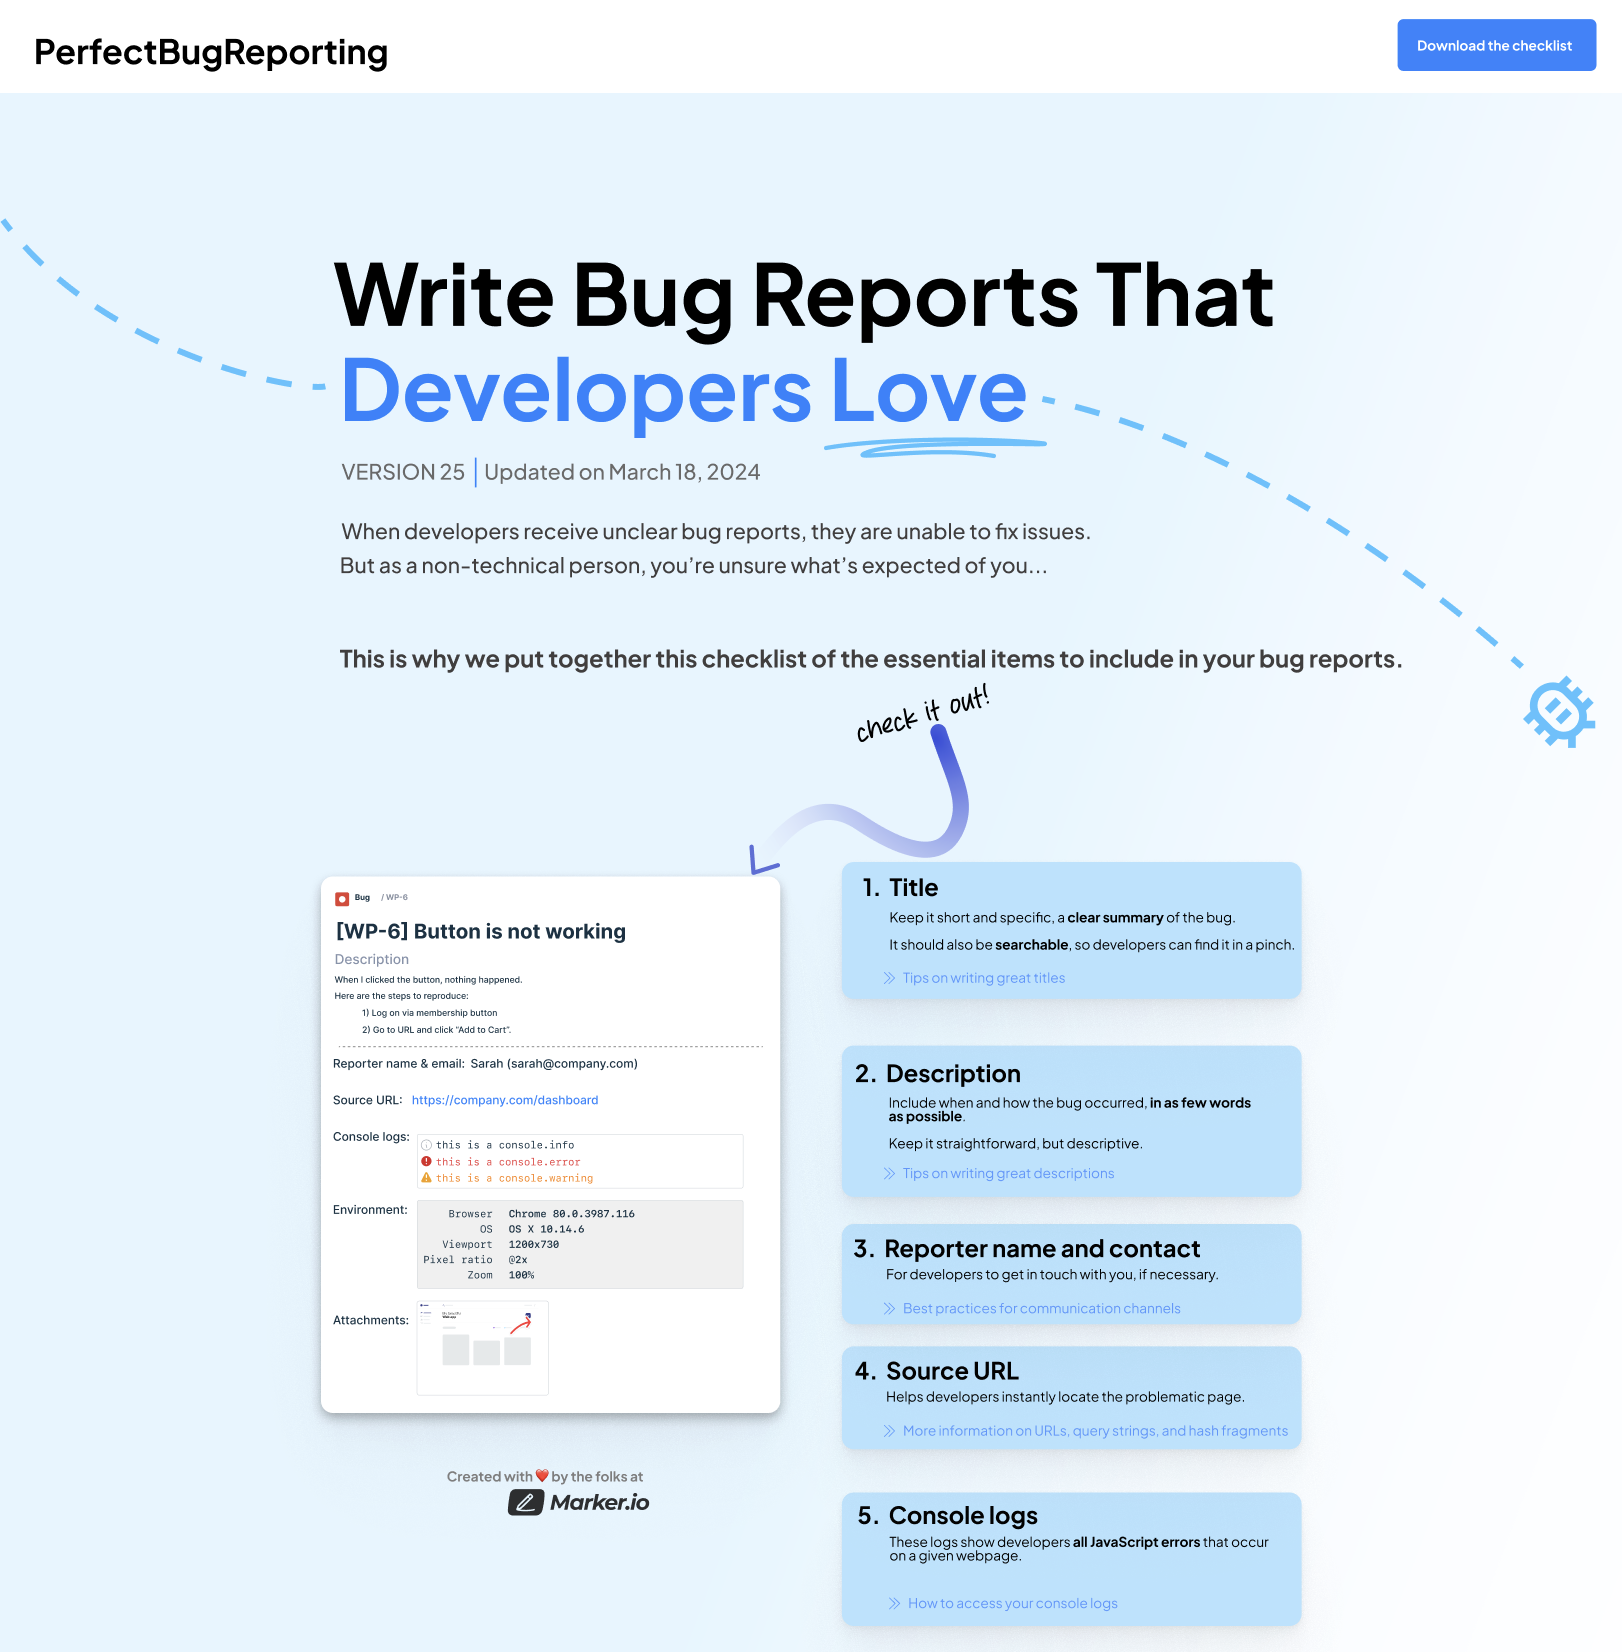
The idea works. We just needed a design that would speak to developers.
The design process
In the last couple of years, the Linear-style design trend has been the go-to for many designers:
- Minimalist with a lot of white space
- Dark backgrounds, linear gradient colors
- Micro-motion effects
- Blurs & glassmorphism
Linear themselves wanted to replicate the black coding environment many engineers prefer, minimizing battery drain and eye strain.
We figured this would be a good starting point.
1. Color palette and first draft
We started by looking for a suitable color palette in Colorhunt.
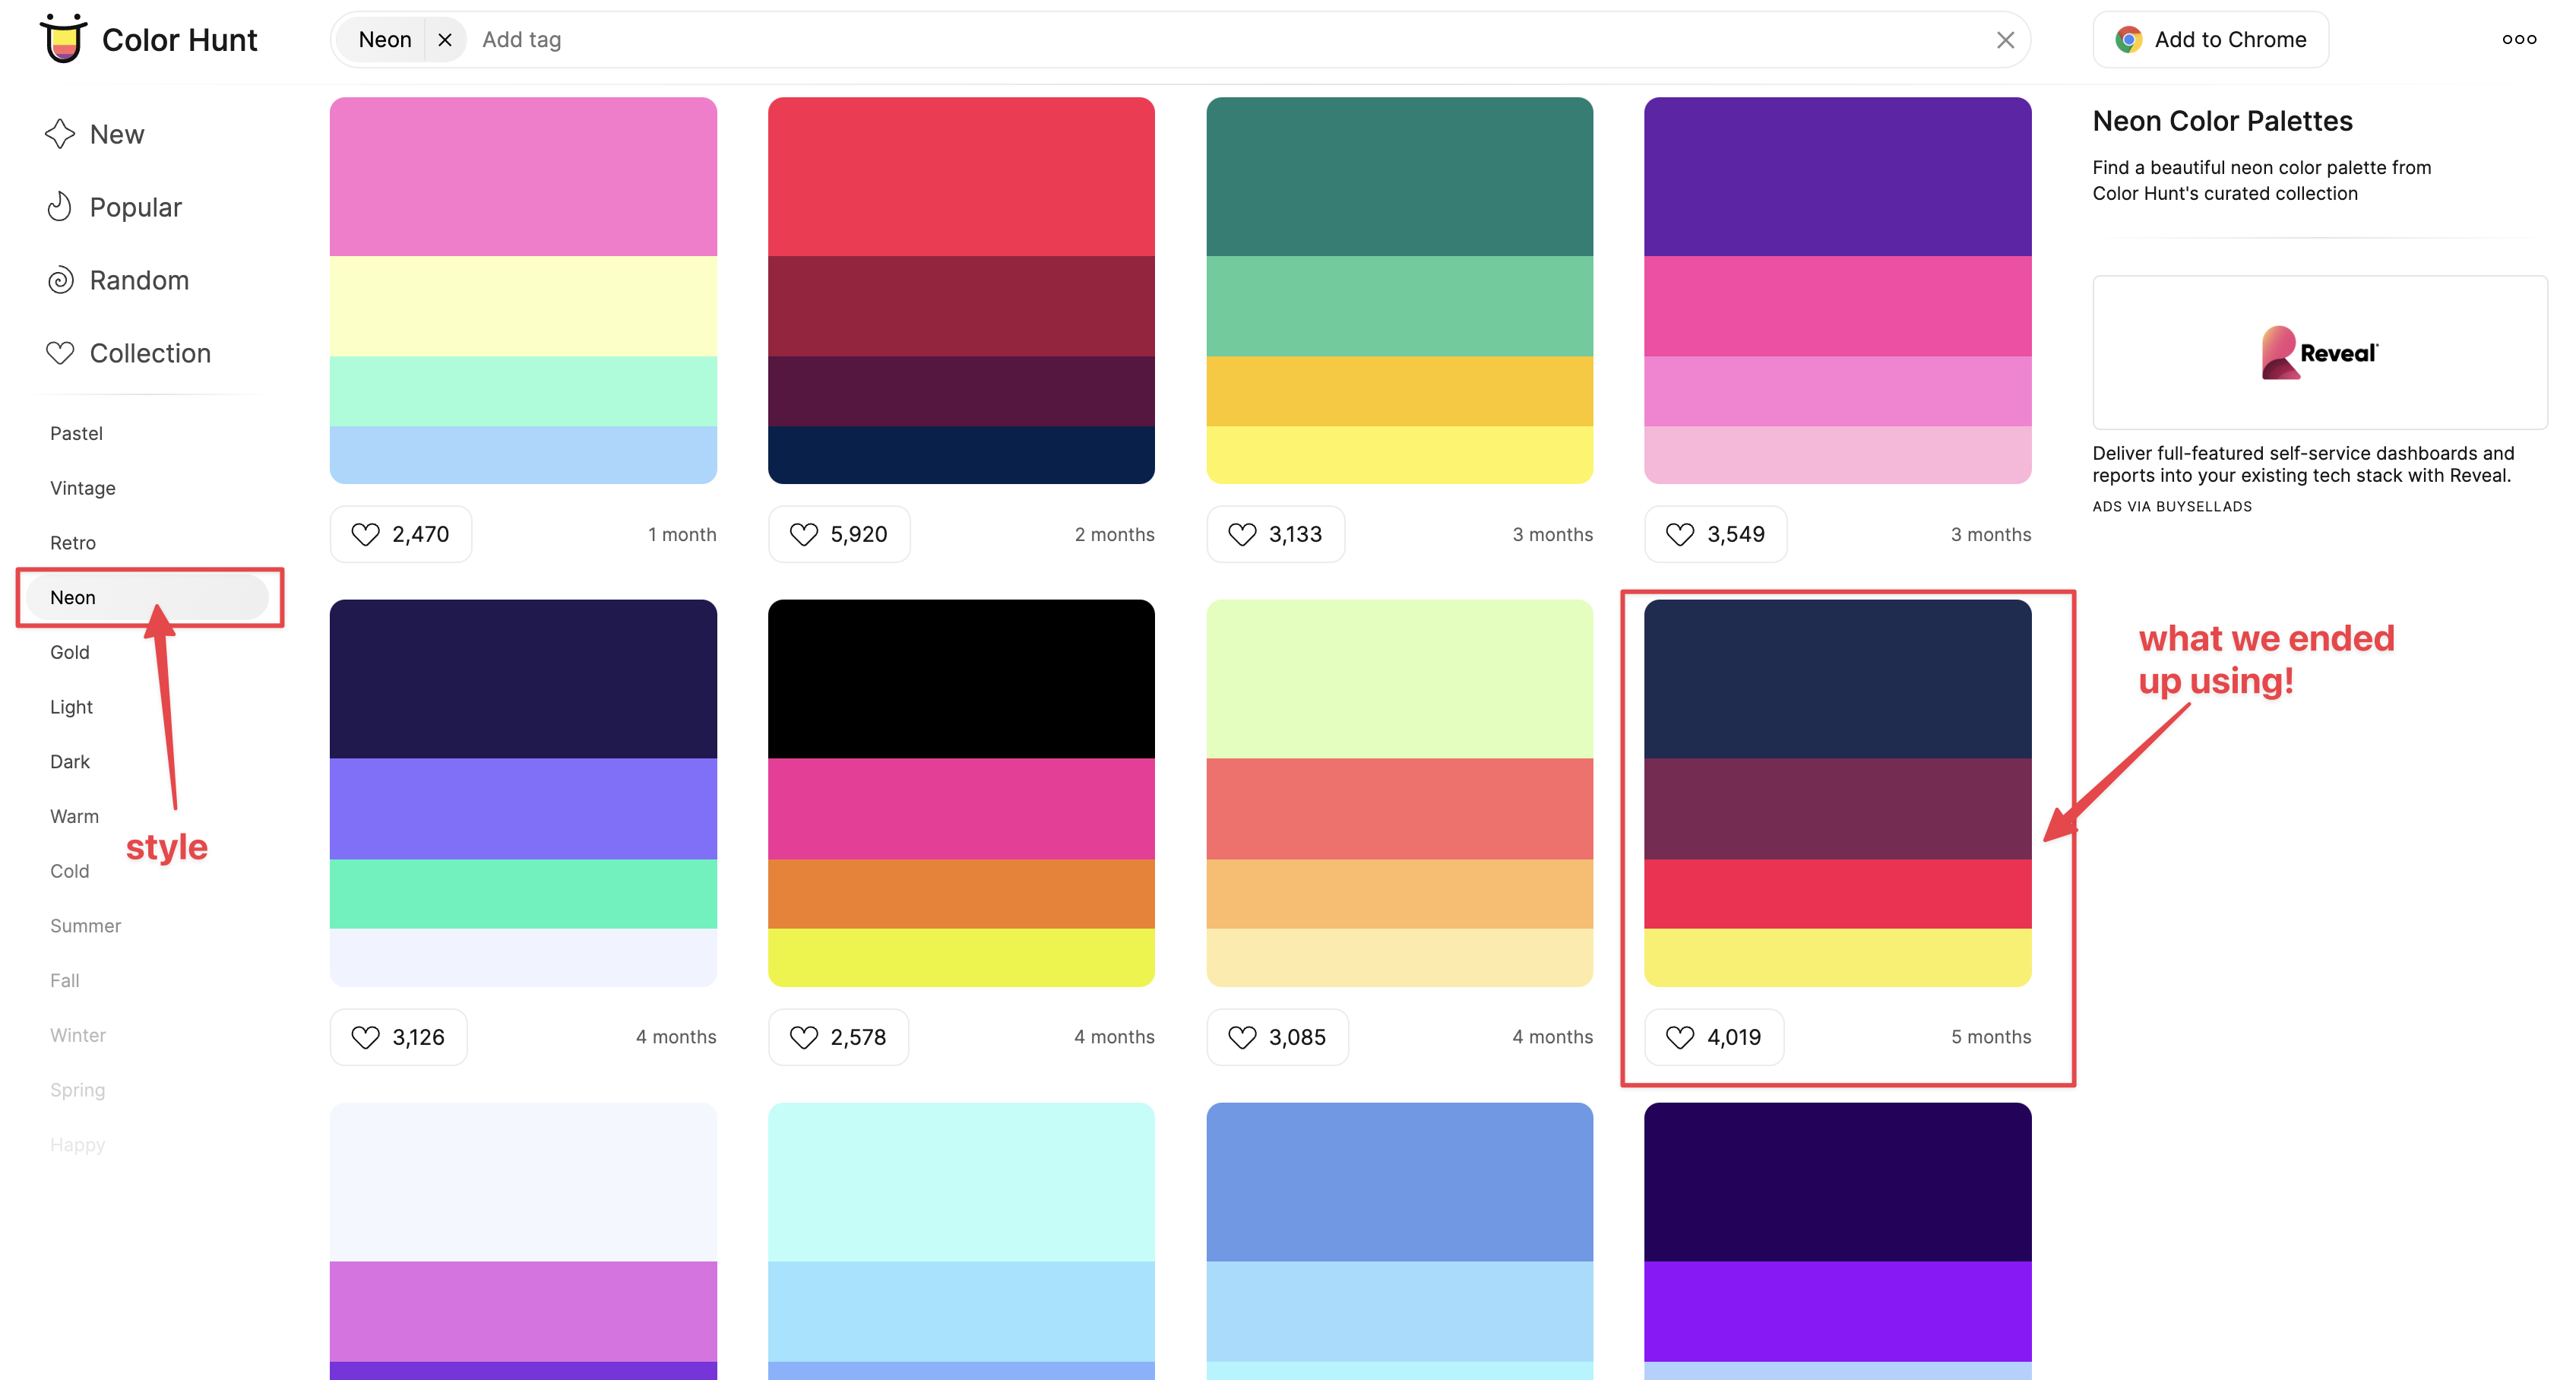
We also:
- Reworked the typography
- Reworked the structure (3 columns: intro - checklist - image), to make it clear what the page was about
- Focused on making the main element stand out—the checklist—as a way to guide users through the page
A few design changes later, we had our first draft:
2. Using typography as the guide
This was a decent start, but it lacked some punch. The microsite needed to be “its own thing” and have some personality.
We started with the typography, using Google Fonts for research.
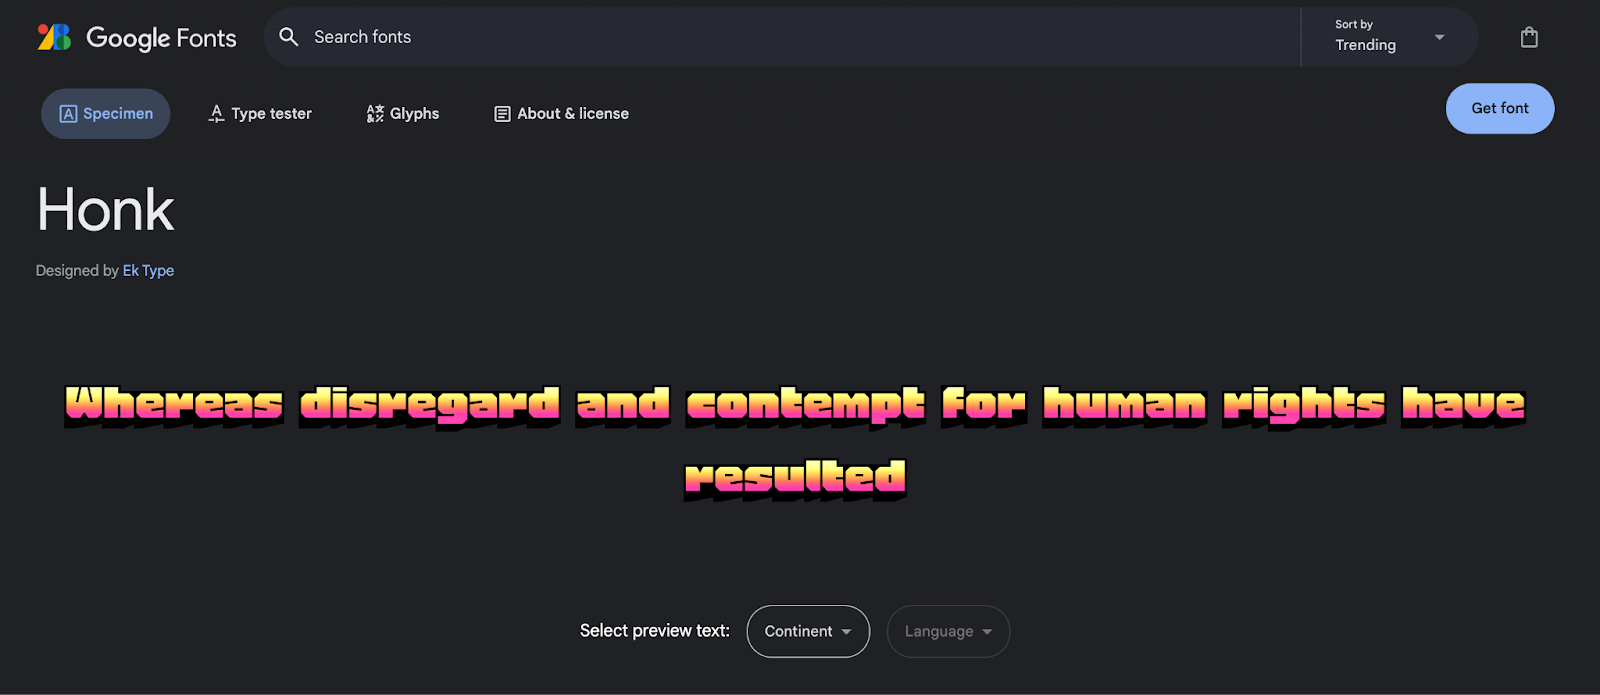
We found Honk by pure luck, but it was a great fit for the project.
It had personality, reminded us of classic GTA, and the colors worked well.
That would cover the “fun” part.
For the secondary font, we wanted something a bit more “coding”, and settled for VT323:

From there on, the fonts really guided the rest of the design.
We were going for something old-school/80s, reminiscent of retro gaming/synthwave.
This helped a lot for our next step: creating the background image.
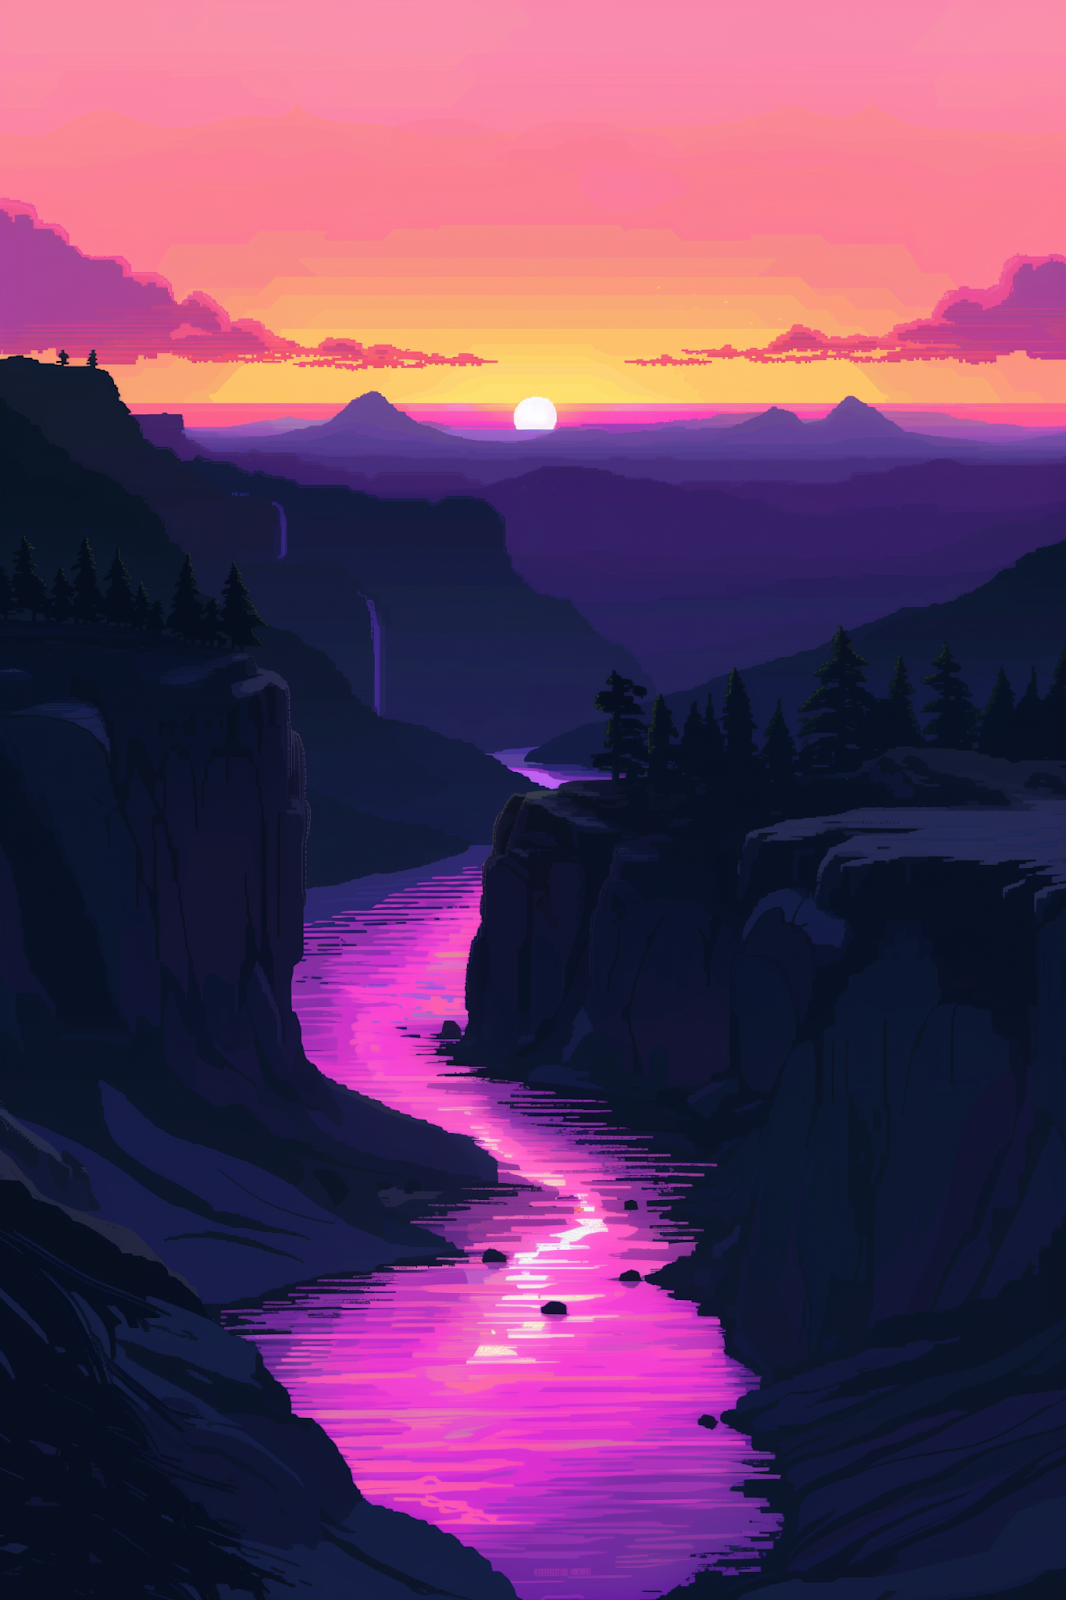
3. Midjourney for the background image
We knew exactly what we were going for, so we just used this prompt in Midjourney:
“pixel art background, wallpaper, minimalistic, gradient, sunset, yellow and pink”
This describes both our fonts and color palette.
A few dozens of variations later, Midjourney gave us this:

We extended the image upwards to generate the sky, then left and right to create more mountains.
At the end of the day, we needed something:
- simple, to display content on top of it (hence minimalistic in the prompt)
- but it also needed to tell a story.
When we extended the image at the bottom, it started generating a river, which gave us another idea: creating a mega-footer.
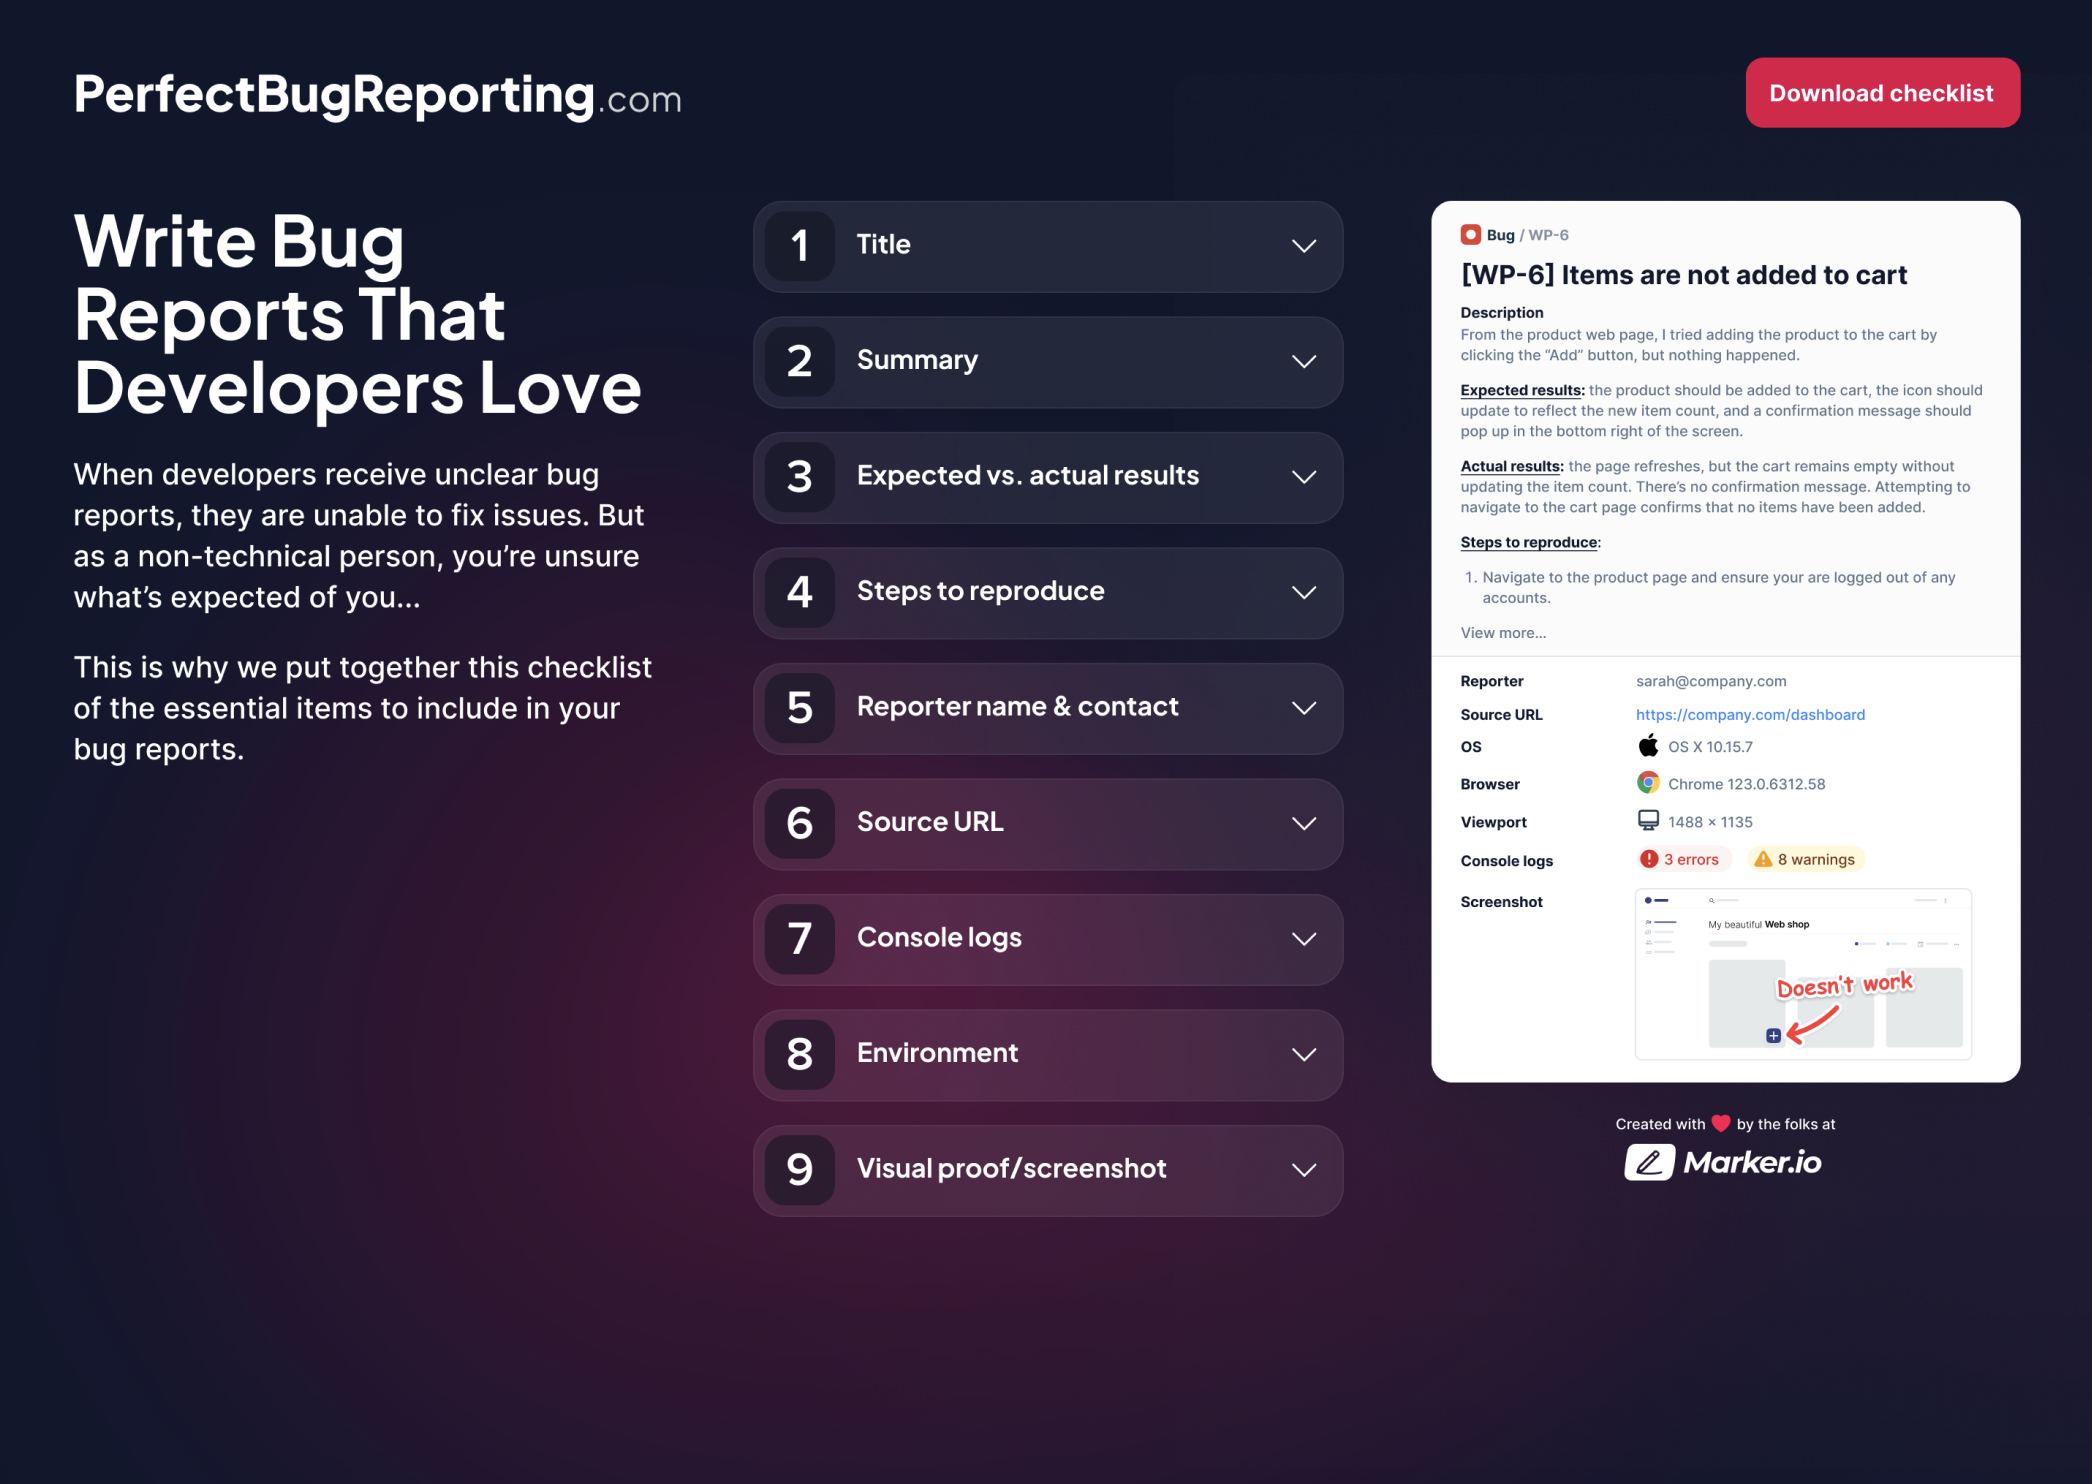
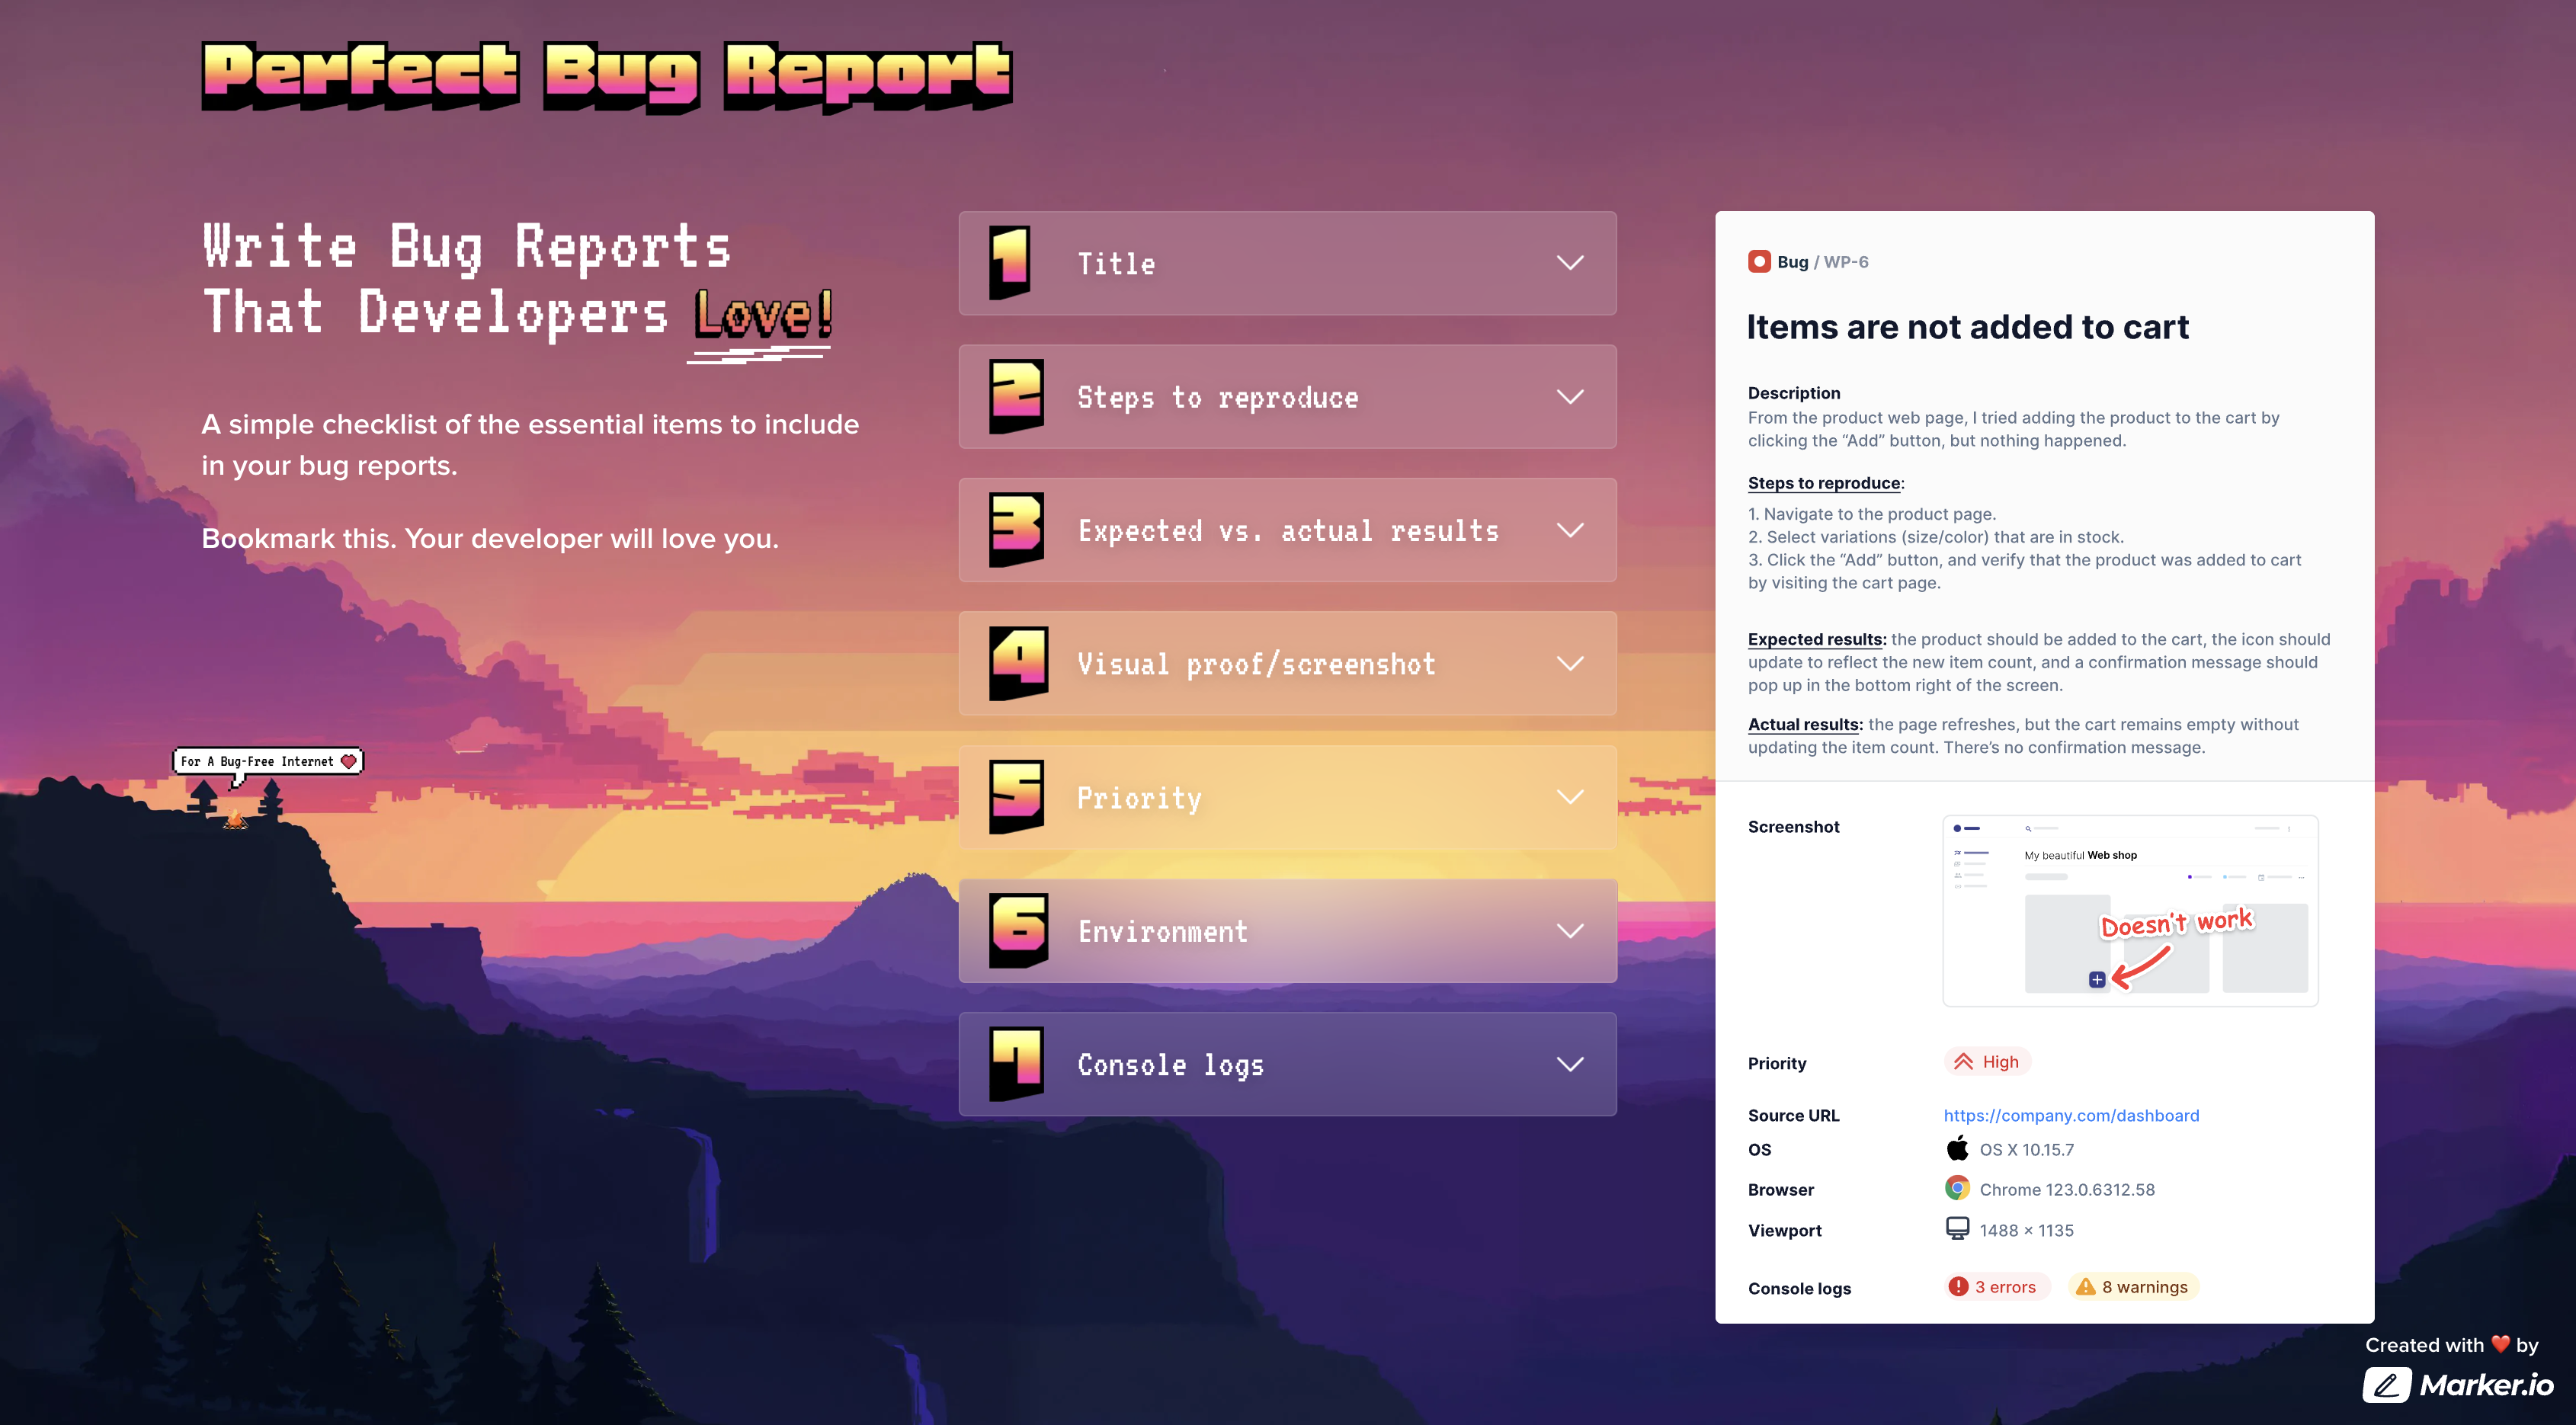
And that was it:
We added a CTA, a couple of easter eggs, and our mission statement.
Good to go!
Building the website in Webflow
For this part, we partnered with an external agency.
1. Briefing
For any outsourced creative work, you want to be as detailed as possible.
We had a good idea of what we wanted our microsite to feel like and how users should interact with it, but that doesn’t mean the agency knows.
We found it best to share all assets, animations, and give examples of how to use them directly in our Slack channel.

There should be no doubt in the agency’s mind about what we’re trying to do.
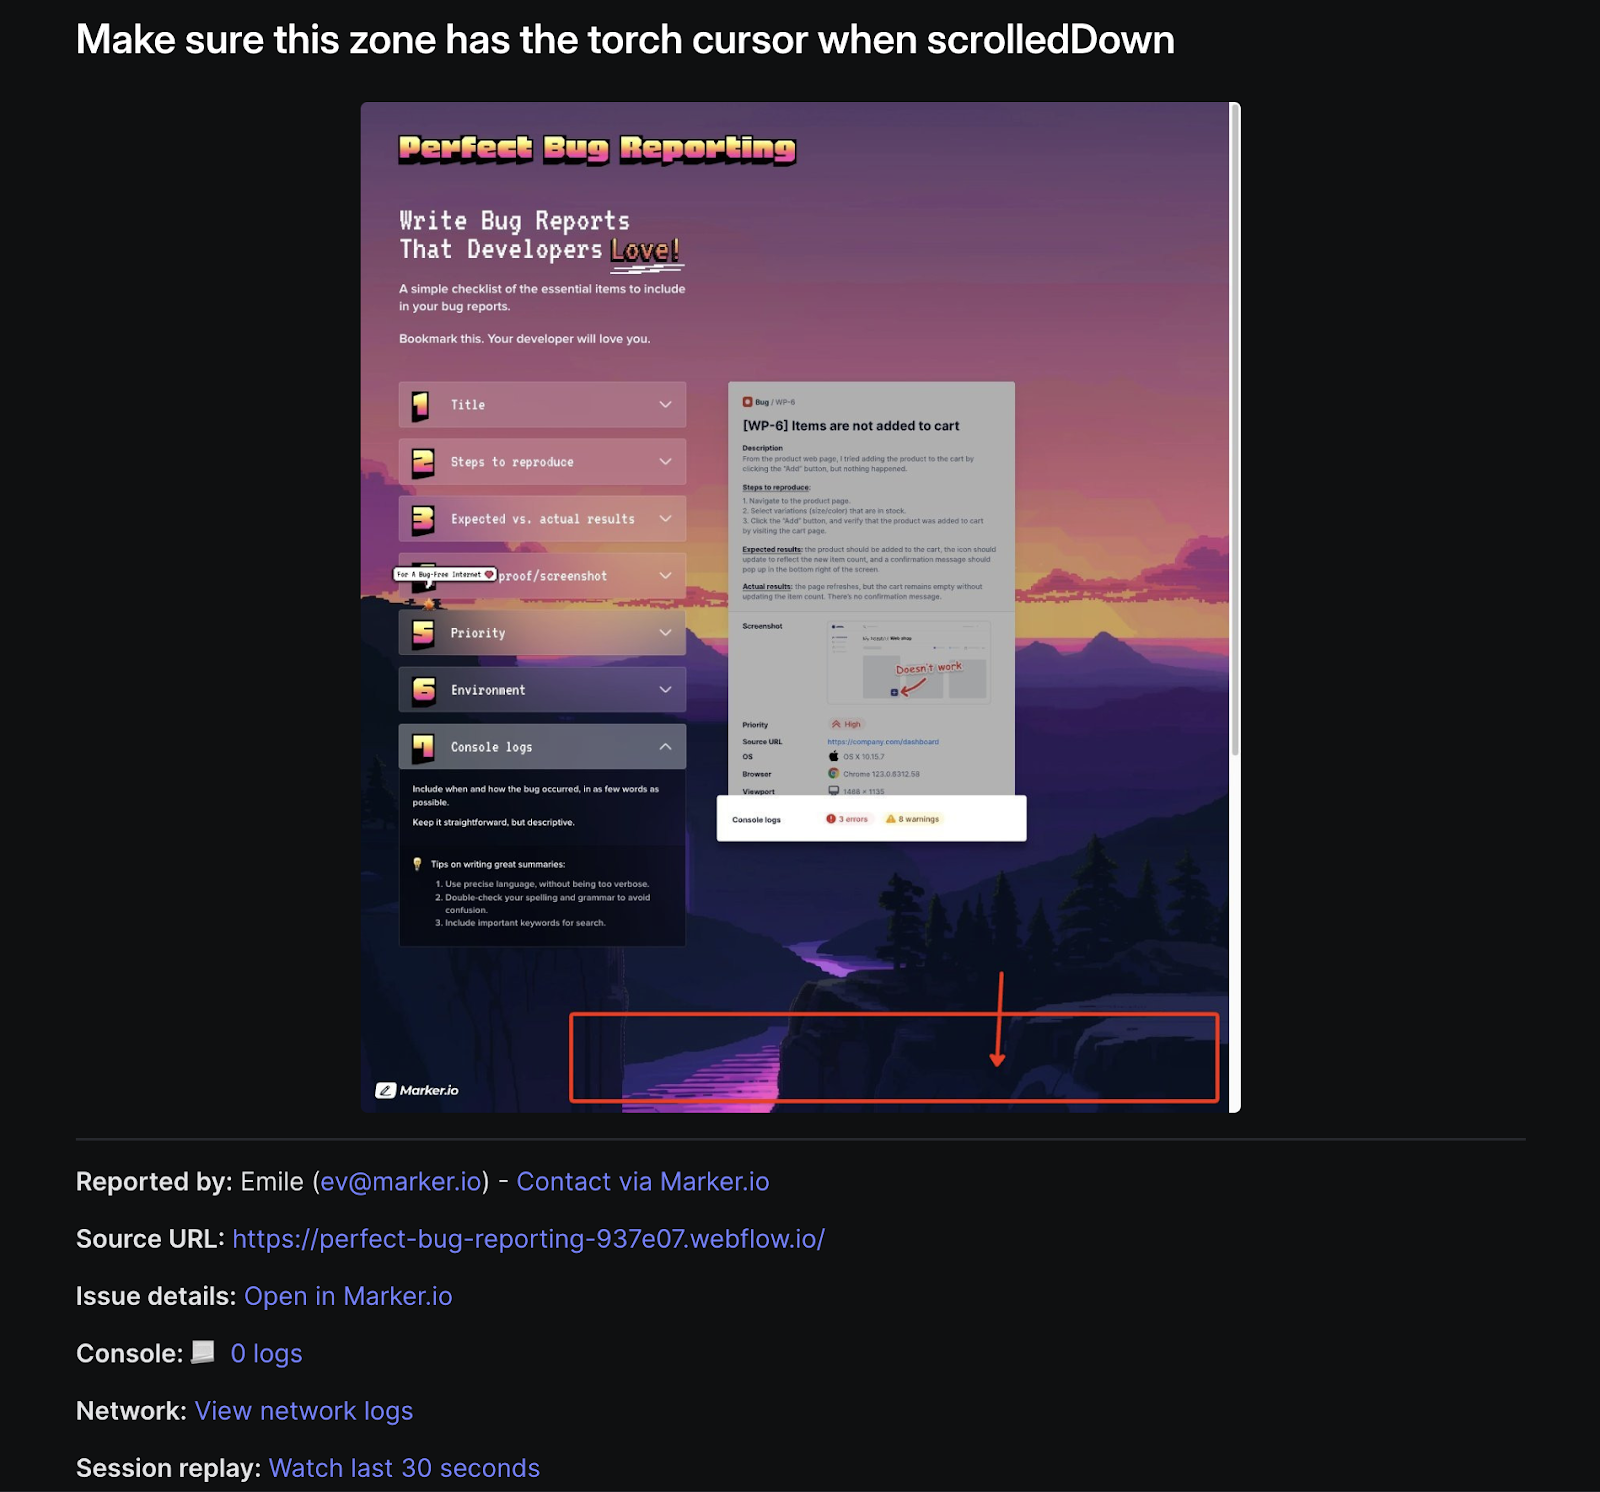
2. Bug reporting & feedback
Despite our briefing efforts, we knew bugs were inevitable.
But we came prepared!
We set up a brand new project in Linear and installed the Marker.io widget on staging:
Reporting bugs only took 1 click and a couple of annotations—and just one person reported all 40 issues within 30 minutes:

The best part is that Marker.io automatically captures all important details:
This made it super easy for us to collaborate with the agency and fix issues faster. No back-and-forth required!
We were also notified that the issues were fixed thanks to the widget:

Wrapping up
And that about wraps up our experience creating PerfectBugReport.io.
Check it out live here: https://www.perfectbugreport.io/
Don’t forget to share it with a developer in need!
What should I do now?
Here are three ways you can continue your journey towards delivering bug-free websites:
Check out Marker.io and its features in action.
Read Next-Gen QA: How Companies Can Save Up To $125,000 A Year by adopting better bug reporting and resolution practices (no e-mail required).
Follow us on LinkedIn, YouTube, and X (Twitter) for bite-sized insights on all things QA testing, software development, bug resolution, and more.
Nathan Vander Heyden
Nathan is Head of Marketing at Marker.io. He used to work as a SEO consultant for various SaaS companies—today, he's all about helping Web Ops teams find more efficient ways to deliver bug-free websites.
Related blog posts


Get started now
Free 15-day trial • No credit card required • Cancel anytime